
When it comes to leather car seats there are two types of damage that are fairly common.
First is body perspiration damage. An example of this would be this car seat headrest.
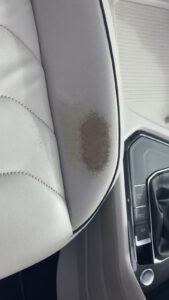
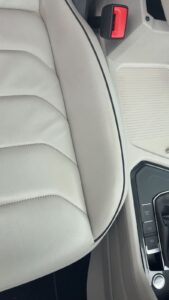
After a period of time your body oils build up and eat away at the leather removing the top coat of the dye. In order to repair the headrest the technician will begin by cleaning the area. This will be done using leather cleaner and a lint free cloth. After the leather is cleaned the technician will use leather prep and a lint free cloth to remove the manufacturers coating along with any dirt and debris off of the headrest. Next the technician will sand down the area.
Now that the area is rubbed back the technician will mix the colour and apply thin layers using an air compressor. These layers will be dried using a hairdryer. Upon completion of the application of leather dye the technician will apply lacquer to seal and protect the repair. The customer will have been advised not to use the headrest for 4 days in order to allow the repair to cure properly.
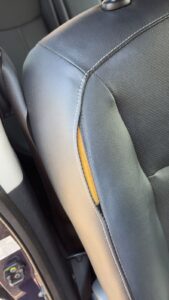
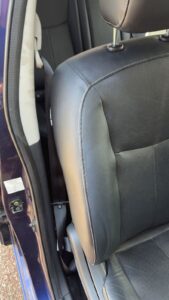
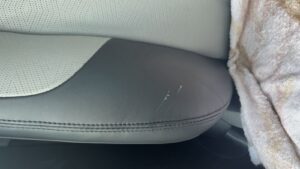
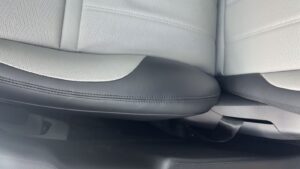
Secondly is customer damage which normally appears on the drivers seat outer bolster as it is easily caught when getting in and out of the car.An example would be these scratches to the drivers seat outer upper bolster that the customer caught with a zipper on their jeans while entering the vehicle.
To start the area will be masked up. Especially because the seat is two different colours of leather we wouldn’t want overspray on the lighter colour.Once the surrounding areas are masked up the technician will clean the area in need of repair. This is done using a leather cleaner and a lint free cloth.
After the area is cleaned the technician will use leather prep and a lint free cloth to wipe down the area to remove the manufacturers coating. Following this the technician will sand down the scratched area using 400 grit sandpaper.
The scratches will then be filled using leather filler and dried using a hairdryer. Should the repair require it the technician will repeat this process again until satisfied. Once happy with the result the technician will sand using 400 grit sandpaper.
Next the technician will mix the colour and apply thin layers using an air compressor. These layers will be dried using a hairdryer. Upon completion of the application of leather dye the technician will apply lacquer to seal and protect the repair. The customer will have been advised not to use the headrest for 4 days in order to allow the repair to cure properly.
We advise that all leather is cleaned and protected every six months this allows the leather to stay clean and fresh and the protection cream gives that extra barrier between the wear and tear and the sofa.
Cleaning kits are always recommended after every repair to help enable you to maintain your leather from future damage, please feel free to ask our technician any questions where they will be happy to give you any help and guidance that you require.
 Get an Instant Quote